Choose the right DID method
Your Decentralized Identifier (DID) is the root of your professional identity infrastructure. Before you mint any credentials, you must select a DID method that balances broad interoperability with your specific blockchain preference. A poorly chosen method can lock your professional history into a single ecosystem, making it difficult to verify your credentials across different platforms or employers.
The W3C DID Core specification defines the standard, but it leaves the implementation details to individual methods. You are essentially choosing which blockchain or distributed ledger will anchor your identifier. This decision dictates where your public key resides and which networks can validate your identity.
Follow this sequence to select the most appropriate method for your needs:
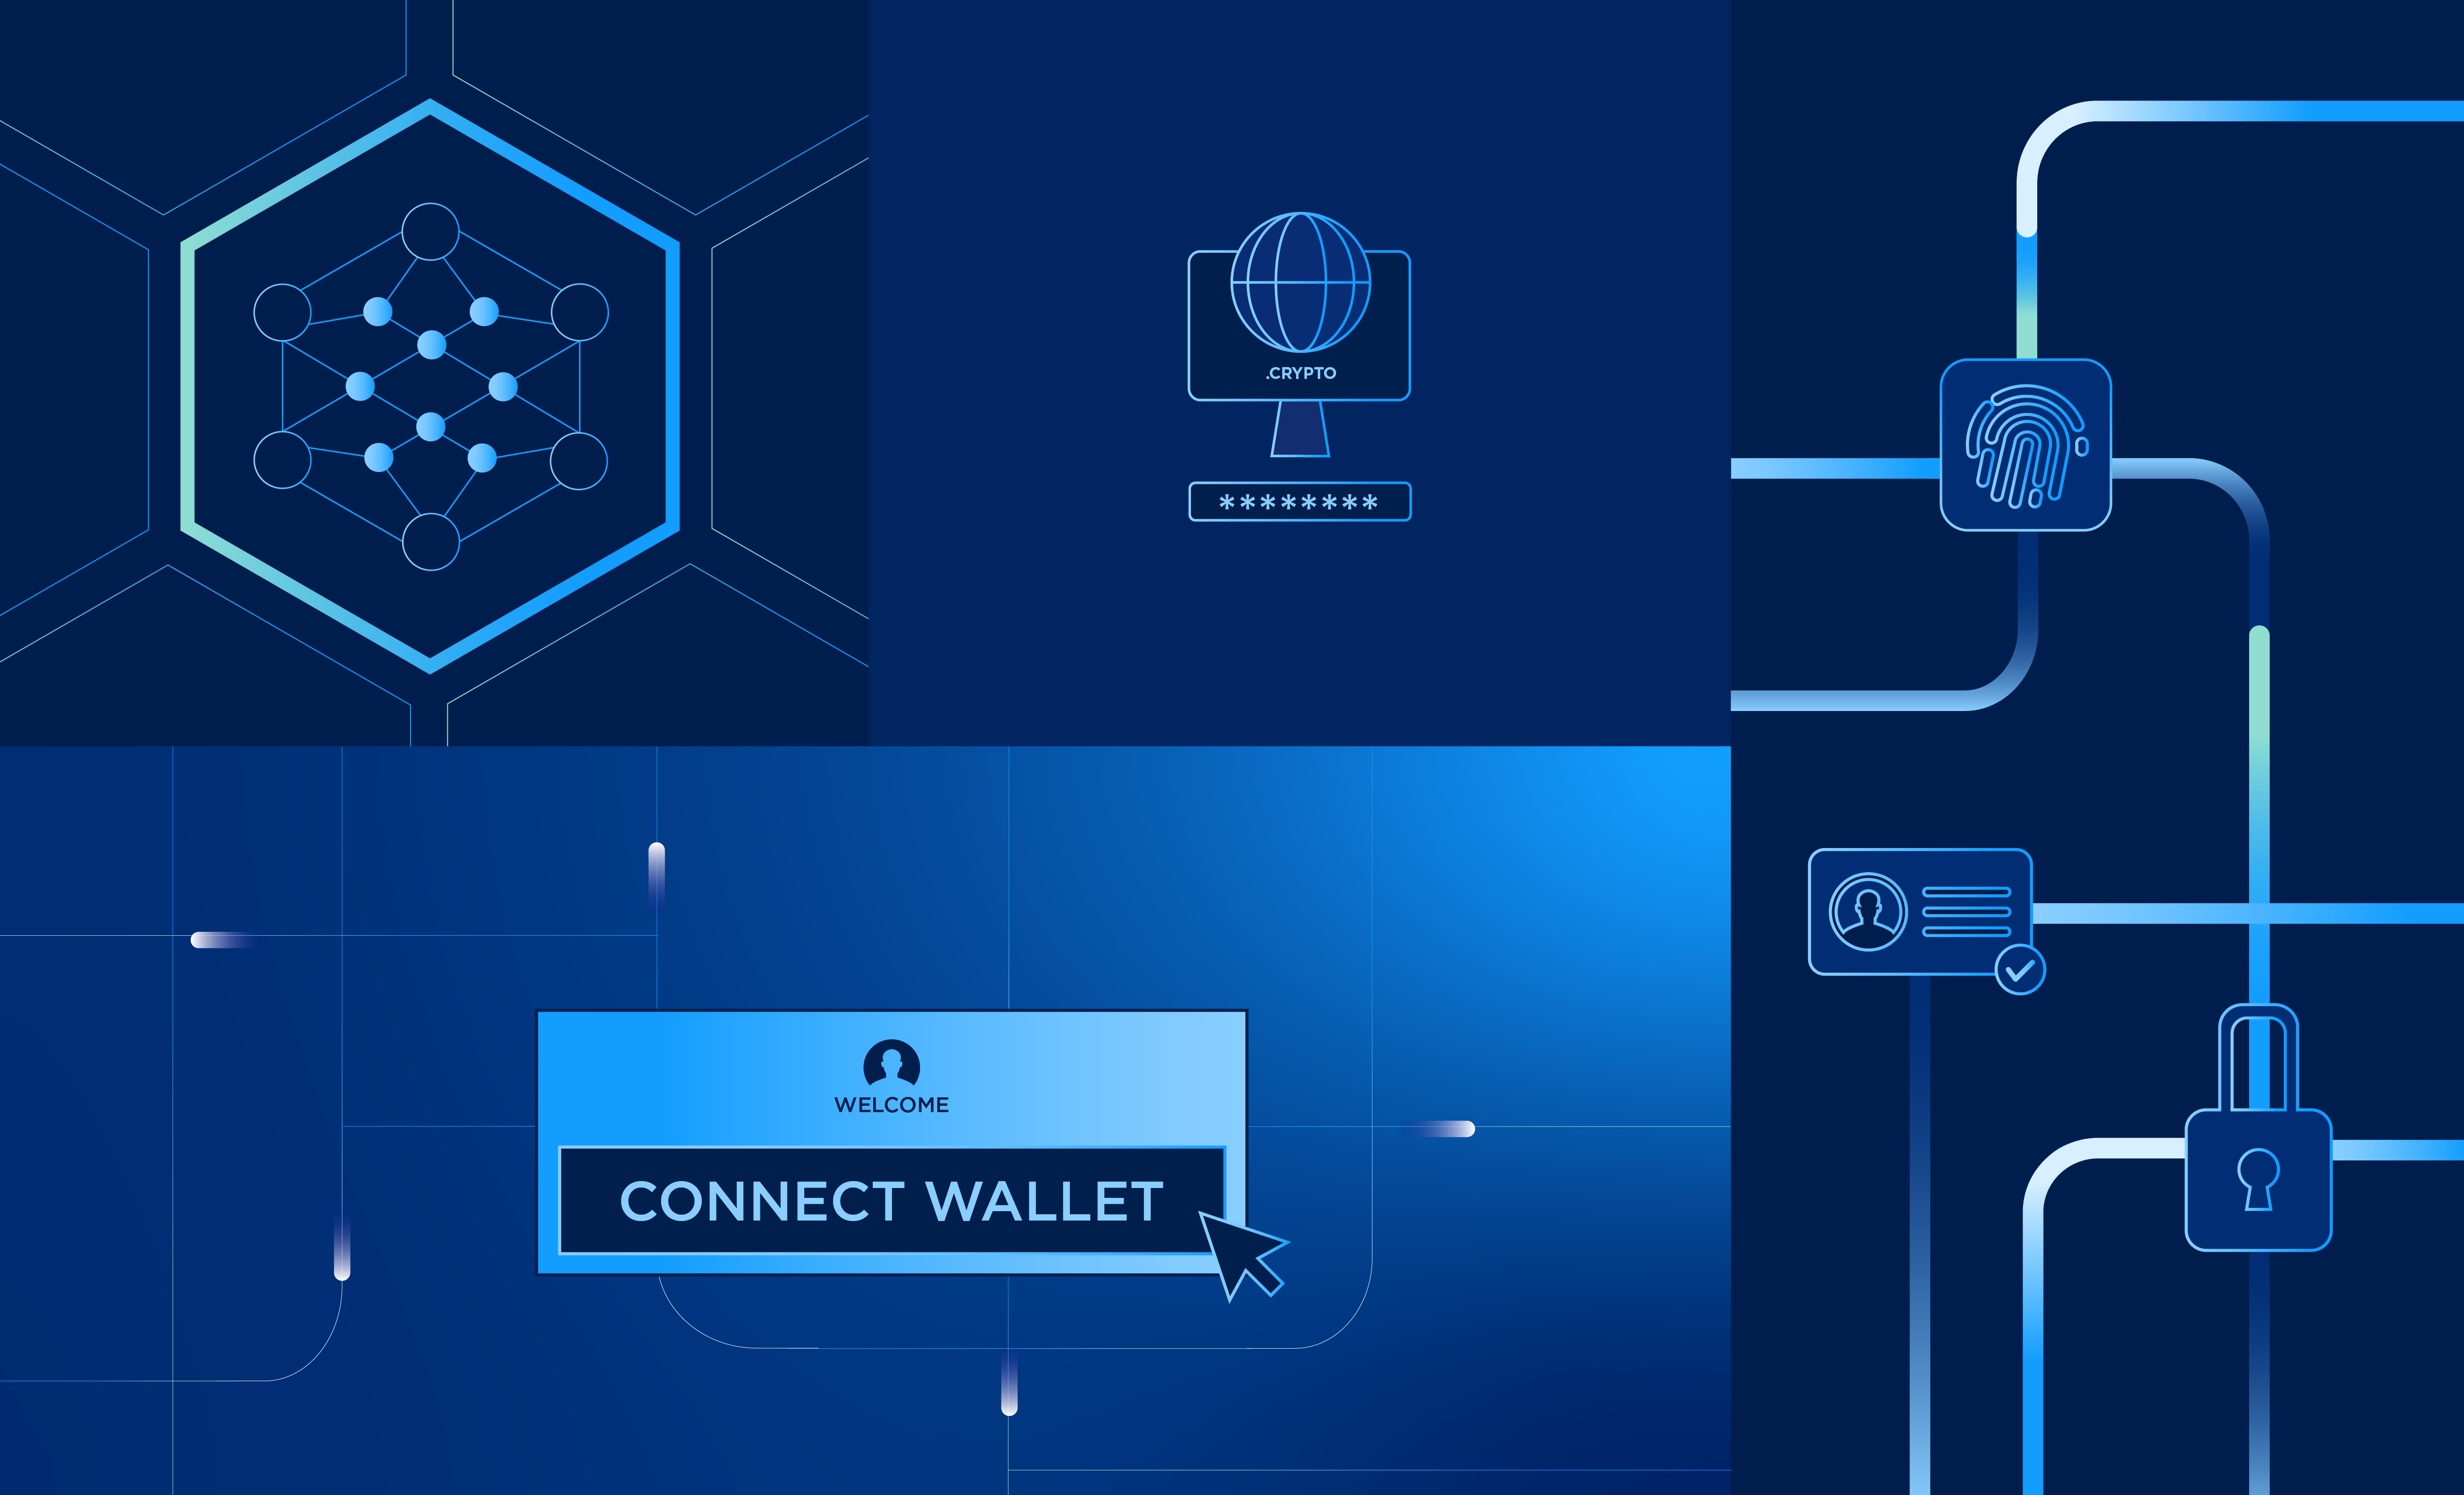
Identify the chain where you hold most of your professional assets or where your target network operates. If you are primarily an Ethereum developer, an Ethereum-based DID method offers native support. If you operate across multiple chains, consider a cross-chain compatible method or a method that supports multiple verifiable data registries.
Verify if your potential employers or clients use specific identity verifiers. Some legacy systems or corporate wallets may only support certain DID methods like did:web or did:key. Ensure your chosen method is readable by the tools your professional network already uses. Avoid proprietary DIDs that lock you into a single ecosystem. Professional identities must be portable.
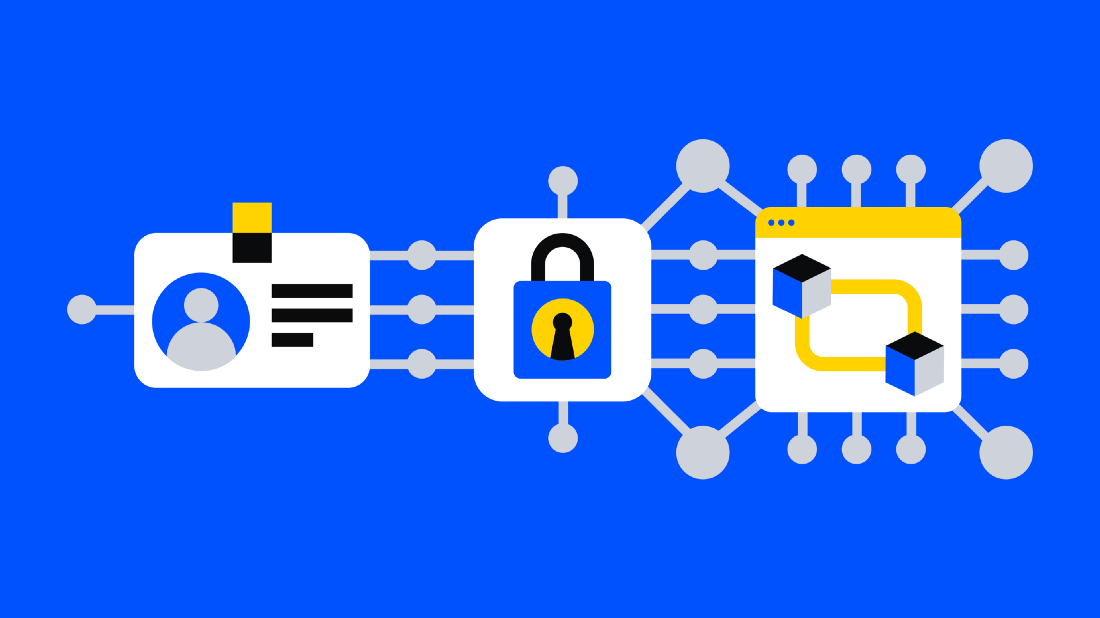
DID methods differ in how they handle key management. Some rely on smart contracts, which may require gas fees for updates. Others use decentralized storage networks. Choose a method that aligns with your comfort level in managing private keys and recovery processes, as losing control of your DID method keys means losing your professional identity.
Once you have selected your method, you can proceed to creating the DID document. This document will serve as the public-facing profile of your identity, linking your decentralized identifier to your professional claims and credentials.
Issue verifiable credentials for skills
To build a professional identity you actually control, you need to move beyond static PDFs and into verifiable credentials (VCs). A VC is a tamper-proof digital record issued by a trusted authority—like an employer, university, or certification body—that you can store in your digital wallet. This allows you to prove specific claims, such as "Graduated with Honors" or "Certified in React," without revealing unnecessary personal data like your full address or date of birth.
The process relies on decentralized identifiers (DIDs) and the W3C Verifiable Credentials standard. Instead of a central database holding your resume, you hold the cryptographic proof. When a hiring manager or client requests verification, you present a zero-knowledge proof or a selective disclosure credential, confirming only what is necessary for the role.
Follow these steps to attach verifiable credentials to your DID and manage your professional reputation.

Select a wallet that supports the W3C VC standard and the specific DID method required by your credential issuers. Popular options include Polygon ID for privacy-focused identity management or generic wallets like MetaMask with identity plugins. Ensure the wallet allows you to export or share credentials via standardized protocols like OpenID Connect for Verifiable Credentials (OID4VCI).
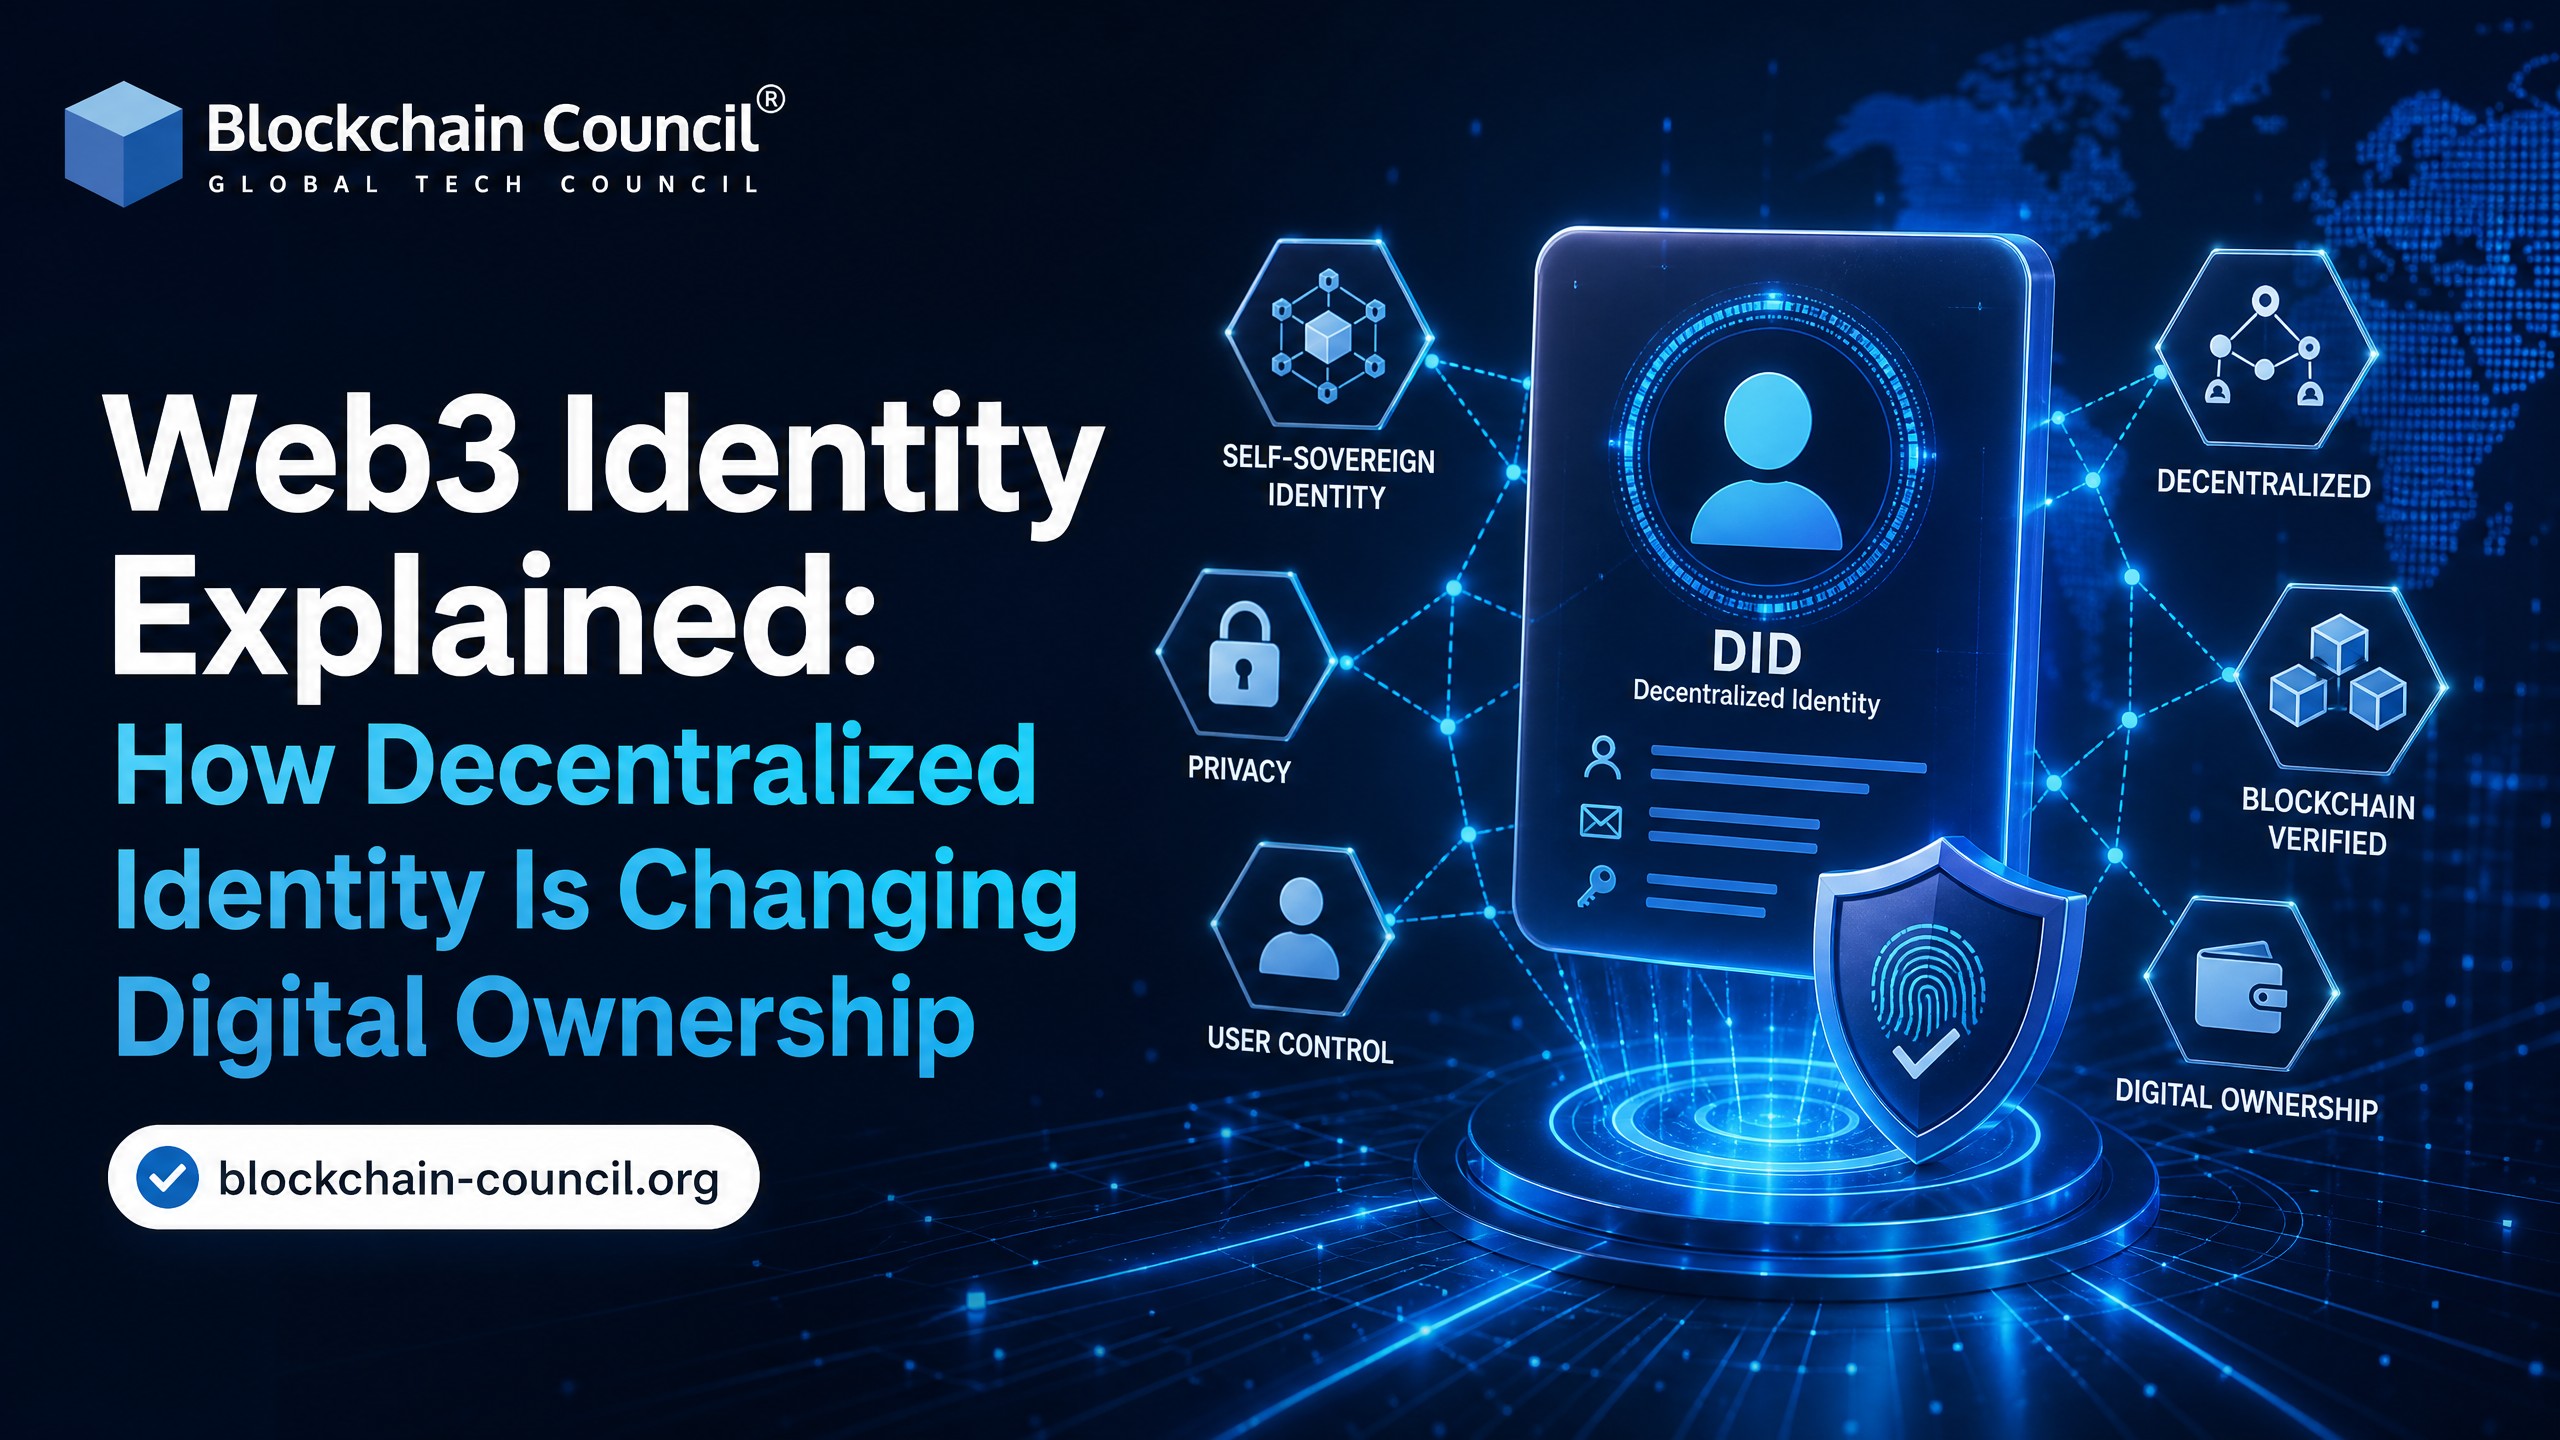
Contact your credential issuer (e.g., your employer or educational institution). Many organizations are transitioning to issuing VCs directly via email or a dedicated portal. You will need to provide your DID or a wallet URI to receive the credential. The issuer will verify your identity against their internal records and sign the credential cryptographically.
Once issued, the credential arrives in your wallet. Review the claims carefully to ensure accuracy. Organize your credentials into collections or "pods" based on professional domains (e.g., "Engineering Certifications," "Academic Degrees"). This structure makes it easier to present a coherent professional narrative when applying for jobs or grants.
When applying for a role or verifying your background, generate a presentation request from the verifier. Your wallet will show you exactly which data points are being requested. Approve only the necessary claims. For example, if a job requires proof of age over 18, share a zero-knowledge proof that confirms "Age > 18" without revealing your actual birth date.
Connect Your Identity to Professional Networks
Linking your decentralized identity to existing professional platforms transforms a standalone wallet into a verifiable career portfolio. This integration allows recruiters and peers to validate your credentials without relying on centralized intermediaries. You are essentially attaching a cryptographic seal of authenticity to your professional history.
Follow this sequence to bridge your Web3 identity with traditional and decentralized networks:

Securing the private keys associated with this identity is non-negotiable. If you lose access to your wallet, you lose your professional reputation. Use a hardware wallet to store your signing keys offline. The following tools are recommended for maintaining the integrity of your professional identity infrastructure.
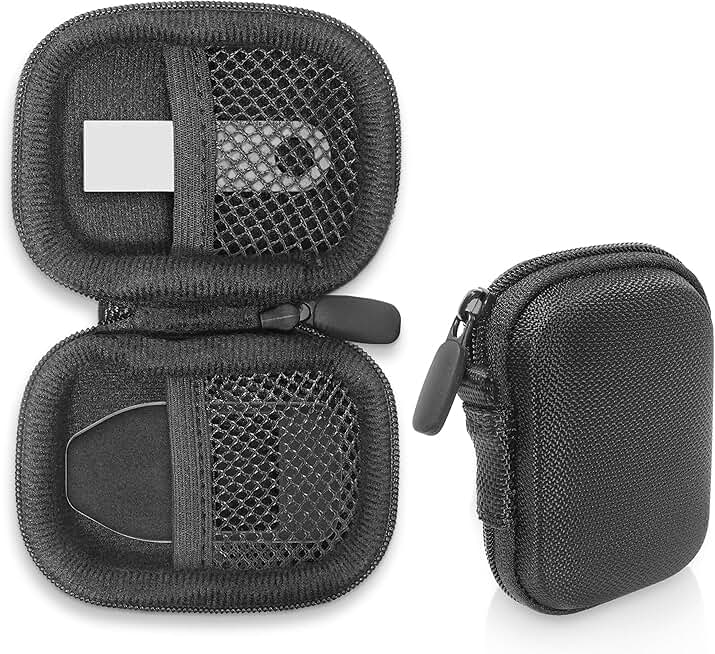


As an Amazon Associate, we may earn from qualifying purchases.
By following these steps, you create a resilient professional identity that travels with you across the digital economy. Your credentials become portable, verifiable, and under your sole control.
Audit your privacy and access controls
Your Web3 professional identity is only as secure as the permissions you grant. Unlike traditional social media profiles where platforms control your data, decentralized identity requires you to actively manage who sees what. This section walks you through the specific steps to audit your digital footprint, ensuring you maintain control over your professional reputation without compromising accessibility.
1. Inventory your connected applications
Start by listing every decentralized application (dApp) that currently holds permission to interact with your wallet or identity provider. Many users accumulate "zombie permissions"—connections to old projects that no longer exist or are no longer used. These dormant connections represent potential vulnerabilities. Check your wallet’s connection history or your identity provider’s dashboard to generate this list. Removing unused connections reduces the attack surface for phishing attempts and unauthorized data scraping.
2. Review selective disclosure settings
Web3 identity protocols, such as those defined by the W3C, allow for selective disclosure. This means you can prove you meet a criteria (like being over 18 or holding a specific credential) without revealing the underlying data (like your birthdate or credential ID). Audit your settings to ensure you are only sharing the minimum necessary information for each interaction. Over-sharing personal details in a professional context can lead to privacy breaches that are permanent on-chain. Configure your identity wallet to mask or omit unnecessary attributes during verification processes.
3. Test revocation rights
A critical component of privacy is the ability to revoke access. Verify that you can easily disconnect any application at any time. Test this by connecting to a safe, test environment and then immediately revoking the permission. Confirm that the application can no longer access your data or initiate transactions. This step ensures that if a dApp becomes compromised or changes its privacy policy, you retain the power to cut off access instantly. Document the steps required for revocation in each major identity provider you use.
4. Secure your private keys
While not a software setting, your private keys are the root of your identity’s privacy. If a key is compromised, all associated permissions and data are exposed. Use a hardware wallet to store your primary identity keys. This keeps your private keys offline and isolated from internet-connected devices. Below are recommended hardware wallets for securing your Web3 identity infrastructure.


As an Amazon Associate, we may earn from qualifying purchases.
5. Regularly update your identity provider
Identity protocols and software evolve rapidly. Outdated software may contain known vulnerabilities that compromise your privacy settings. Subscribe to updates from your identity provider (such as Polygon ID or other W3C-compliant solutions) and apply patches promptly. Regular updates ensure you have the latest privacy features and security enhancements. Set a calendar reminder to review your provider’s documentation quarterly.
Frequently asked questions about Web3 identity
This section clarifies common confusion points regarding Decentralized Identifiers (DIDs) and practical Web3 examples. Understanding these distinctions is essential for building a compliant professional identity infrastructure.


As an Amazon Associate, we may earn from qualifying purchases.
For high-stakes professional use, securing your DIDs with a hardware wallet is non-negotiable. These tools keep your private keys offline, protecting your identity infrastructure from digital theft and unauthorized access.
No comments yet. Be the first to share your thoughts!